
| 27 Février 2018 |
by Jessy Gafsou (Student from #Batch 2 @ DI)
First Game : Build your own Star War game !

Second coding game :
Let’s make a wish card for pessah !
Since you are surfing on the web, you have seen hundreds of thousands of website. But, do you know how to create one ?
It’s exactly what we are going to do in the next 5 steps
Soon, it’s pessah, and you would like to wish an happy passover in a funny way to all your friends.
By creating this website, we are going to learn how to write an html code, insert images and add videos
If you know how to deal with all of theses, you will be able to create any website you want.
Let’s start to code an html page then
Because it’s the first time we are doing this, we will start from an example, very simple.
We are going to download the best tools. We are going to download a software called
Sublime text or Bracket
Action : GO ON www.sublimetext.com AND PRESS ON DOWNLOAD
Why do we use this code ?
We are going to use this software to colour our code to make it more…understandable
If you can’t download anything on your computer, it’s fine, you can open textedit on mac or windows
Now that the software is downloaded correctly, you will arrive to a blank page
It’s normal, we have not write any code yet !
The first thing you want to do if you want to code in HTML is to tell to the computer you are going to use this language
We are going to write <!DOCTYPE html> and then we will write our first HTML tag
It will start by <html> and finish by </html>
A tag will define a zone where we will add some content
In this tag we will add all the HTML code
In this tag, we will add 2 others tag
The first one will be head
Open by <head> and closed by </head>.
All this content will be read by the browser but not actually shown to our page
The second one will be <body>
Open by <body> and closed by </body>
In this tag, we will put everything who will be shown on the page
Action : Type this following text on the computer
<!DOCTYPE html>
<html>
<head>
</head>
<body>
</body>
</html>
We are going to add some code in the tag <head>
The first line is only here to make sure that the text is shown correctly
Type on the screen this :
<!DOCTYPE html>
<html>
<head>
<meta charset = “utf-8” >
</head>
<body>
</body>
</html>
The second line will give a title to our html page
<!DOCTYPE html>
<html>
<head>
<meta charset = “utf-8” >
<title> happy passover </title>
</head>
<body>
</body>
</html>
Then, I will highly recommend you to save your document.
Go to save as and name is index.html on your desktop.
You want to know more ?
Let’s go on Step 2
Step 2
In our previous step, we prepared our document to code our very first website to wish an happy passover to our friends and family
The first thing is to start to code seriously.
Let’s go back to the file we created on our previous step.
If you are opening sublimetext you should see your last file used
If it’s not the case, open sublime text and open the file you save called ‘index’
Now, to start, i am going to write a tag title in the body section
As a reminder, it is inside a tag <body> that i will add all the content of my web page
To do so, i will add a tag title <h1>
h1 means that it is the most important title, h2 will be less important and h3 will be even less important
Now that my tag title are set, i will start writing my title in the tag h1
Show in screen :
<!DOCTYPE html>
<html>
<head>
<meta charset = “utf-8” >
<title> happy passover </title>
</head>
<body>
<h1> happy passover my friends </h1>
</body>
</html>
Now I am going to continue my text and open a tag paragraph <p>
Show in screen :
<!DOCTYPE html>
<html>
<head>
<meta charset = “utf-8” >
<title> happy passover </title>
</head>
<body>
<h1> happy passover my friends </h1>
This tag will be able to start our text zone
<p>
</p>
</body>
</html>
Then here i will write the Braha i want to send to my friends for Pessah
“Wishing you joy and many blessings
at Passover and throughout the year!
May God bless you this Passover season
and all through the year…”
“May your Pesach overflow with happiness…
May you always be blessed with peace,
prosperity and togetherness!
Wishing you a Happy Passover!”
Now let’s see what we have coded already
To do so. Press on save (file → save)
Then I reduce the window ‘sublim text”
I go to look for my html file in the folder of my computer
And i open it with my browser
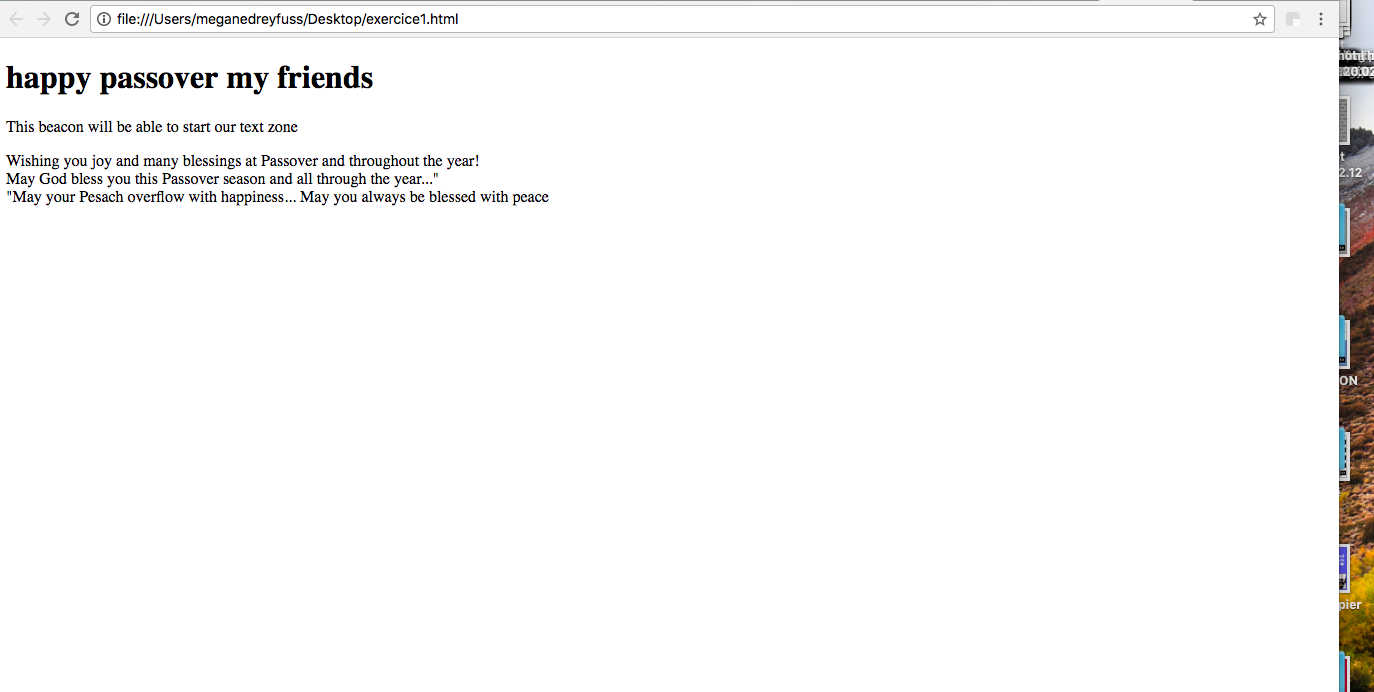
Show this on screen :

You can find a white page with the title we have wrote in the tag <h1>
I would like to change few things before right now it is not the most beautiful page we can have. Let’s change few lines, maybe have some spaces and colones.
To create a new paragraph, it’s really simple, you can add a new paragraph by adding a new <p> tag. Don’t forget to close the previous one 🙂
To let some spaces between lines, you can use the very useful tag <br>
You can put it here
Show in screen :
<!DOCTYPE html>
<html>
<head>
<meta charset = “utf-8” >
<title> happy passover </title>
</head>
<body>
<h1> happy passover my friends </h1>
This tag will be able to start our text zone
Wishing you joy and many blessings
at Passover and throughout the year! <br>
May God bless you this Passover season
and all through the year…”<br>
“May your Pesach overflow with happiness…
May you always be blessed with peace,
prosperity and togetherness!<br>
Wishing you a Happy Passover!<br>
</p>
</p>
</body>
</html>
MAGIQUE
You want to see that in real time ? Don’t forget to save; refresh your browser and it’s done !
We have a lot of text on this page , let see how to add some images here
Step 3
Add images
We have now our html that looks like this :
It has actually no swag and style !
Let’s add some images
To add an image, you need to use a tag <img/>
You will need to add few spaces after the image
It is inside this tag that we will be able to add our image
But before doing so, we will need to know every format of images we have on the web
The most used one are JPEG PNG & GIF
GIF images are the funny image / video you are getting endlessly on your whatsapp group ?
I am gonna add a gif to my page. To get the url of the gif, i will go on giphy.com
I will then copy the link
Link is https://media.giphy.com/media/xUPGclOqFtujBLIjkI/giphy.gif
Don’t forget to add the “ at the end of the url
<!DOCTYPE html>
<html>
<head>
<title>Happy</title>
</head>
<body>
<h1> happy passover my friends </h1>
<img src=”https://media.giphy.com/media/11sBLVxNs7v6WA/giphy.gif”/>
<p>Wishing you joy and many blessings at Passover and throughout the year! May God bless you this Passover season <br>
and all through the year…”<br>
“May your Pesach overflow with happiness… <br>
May you always be blessed with peace,
prosperity and togetherness!
Wishing you a Happy Passover!”
</p>
</body>
</html>
Nice to ? It’s adding some color to my code
I am gonna give a reminder about the aliment we should add to our seder, that way they wont forget anything 🙂
Now we are adding th h2 tag
<!DOCTYPE html>
<html>
<head>
<meta charset = “utf-8” >
<title> happy passover </title>
</head>
<body>
<h1> happy passover my friends </h1>
This tag will be able to start our text zone
<img src = “https://media.giphy.com/media/xUPGclOqFtujBLIjkI/giphy.gif ”>
<p>
Wishing you joy and many blessings
at Passover and throughout the year! <br>
May God bless you this Passover season
and all through the year…”<br>
“May your Pesach overflow with happiness…
May you always be blessed with peace,
prosperity and togetherness!<br>
Wishing you a Happy Passover!<br>
</p>
<h2> not to forget when we do a seder </h2>
</body>
</html>
Now we are going to make a list. To make a list using the language HTML, we can use the tag <ul>
I will add it to my code and to open every point of my list, i will need to add the tag <li>
<!DOCTYPE html>
<html>
<head>
<meta charset = “utf-8” >
<title> happy passover </title>
</head>
<body>
<h1> happy passover my friends </h1>
This tag will be able to start our text zone
<img src = “https://media.giphy.com/media/xUPGclOqFtujBLIjkI/giphy.gif ”>
<p>
Wishing you joy and many blessings
at Passover and throughout the year! <br>
May God bless you this Passover season
and all through the year…”<br>
“May your Pesach overflow with happiness…
May you always be blessed with peace,
prosperity and togetherness!<br>
Wishing you a Happy Passover!<br>
</p>
<h2> not to forget when we do a seder </h2>
<ul>
<li> </li>
</ul>
</body>
</html>
Inside this tag, we will be able to add some code. Try to add an image to the list !
<!DOCTYPE html>
<html>
<head>
<title>Happy</title>
</head>
<body>
<h1> happy passover my friends </h1>
<p>Wishing you joy and many blessings at Passover and throughout the year! May God bless you this Passover season <br>
and all through the year…”<br>
“May your Pesach overflow with happiness… <br>
<img src=”https://media.giphy.com/media/11sBLVxNs7v6WA/giphy.gif”/><br>
May you always be blessed with peace,
prosperity and togetherness!
Wishing you a Happy Passover!”
</p>
<h2> not to forget when we do a seder </h2>
<ul> Fundamental to the Seder table is the Seder plate, which has on it the following items:
<li> Zeroah, a lamb’s shankbone symbolizing the ancient Passover sacrifice</li>
<li> Beitzah, a roasted egg symbolizing the temple sacrifice and the continuing cycle of life</li>
<li> Haroset, a paste of fruit and nuts symbolizing the mortar used to build the pyramid of the pharaohs</li>
<li> Mar’or, a bitter herb (like horseradish) to represent the bitterness of slavery</li>
<li> Karpas, a green vegetable (usually parsley) representing spring</li>
<li> A bowl of salt water to dip the karpas symbolizing the slaves’ tears</li>
</ul>
<img src =”https://media.giphy.com/media/xUPGclOqFtujBLIjkI/giphy.gif”>
</body>
</html>
Now you can save the document and see how it looks in your browser
Every point of the list are the same
We are going to check this issue
The image is on the same line that the text, let’s change that
To do so, let’s use the principle we have learned at the beginning of the video. Let’s add some <br>
<!DOCTYPE html>
<html>
<head>
<title>Happy</title>
</head>
<body>
<h1> happy passover my friends </h1>
<p>Wishing you joy and many blessings at Passover and throughout the year! May God bless you this Passover season <br>
and all through the year…”<br>
“May your Pesach overflow with happiness… <br>
<img src=”https://media.giphy.com/media/11sBLVxNs7v6WA/giphy.gif”/><br>
May you always be blessed with peace,
prosperity and togetherness!
Wishing you a Happy Passover!”
</p>
<h2> not to forget when we do a seder </h2>
<ul> Fundamental to the Seder table is the Seder plate, which has on it the following items:
<li> Zeroah, a lamb’s shankbone symbolizing the ancient Passover sacrifice</li>
<li> Beitzah, a roasted egg symbolizing the temple sacrifice and the continuing cycle of life</li>
<li> Haroset, a paste of fruit and nuts symbolizing the mortar used to build the pyramid of the pharaohs</li>
<li> Mar’or, a bitter herb (like horseradish) to represent the bitterness of slavery</li>
<li> Karpas, a green vegetable (usually parsley) representing spring</li>
<li> A bowl of salt water to dip the karpas symbolizing the slaves’ tears</li>
</ul>
<img src =”https://media.giphy.com/media/xUPGclOqFtujBLIjkI/giphy.gif”>
<p>
I created this webpage thanks to <a href=”https://developers.institute”>Developers.Institute</a>
</p>
</body>
</html>
But we have an issue here, even if we added some content, our page is really white and our title are ugly
Let’s give some style to title. See you on the next video for that
Step 4
We started to have a lot of HTML in our code, however we want our page to look like something cuter :
(show picture of a nice website)
We are going to create a new document in Sublim text by clicking twice on this bar (show tab)
We are now seeing a new and empty tab. The first thing we are going to do is to save as
Note : it is really important to save this new document in the same folder than the HTML document
Then it is really important to have name our document style.css
Then click on save
Now we are going to start coding in CSS. It’s similar to coding in html but it is different
They are working… together.
The first thing we are going to do, is to modify the colour of the title of our page
To do so, we are going to write this :
h1
{
Color:red;
}
Now we have done this, we are going to save the document , we are going back our browers and we are checking if the title actually changed.
We should have seen a change right, but
Surprised !! nothing changed,
Do you know why ?
There is a line of code in the tag “help” that will actually link “ the html file and the css file
This line :
<link rel=”stylesheet” href=”style.css” />
Copy paste it in your HTML folder
Don’t forget to save all your document
File → save all
Now magic, our title is red !
With the css folder, we can change everything : let’s change the background
Let’s put a blue colour
We are going back to our file css to add “body”
Body will actually gather all the information that will be shown on our page
Then we will add background color
h1
{
Color:red;
}
Body
{
Background-color :grey;
}
Don’t forget to save !
But let’s be honest, it’s not the cutest
We are going to create a block of content to make sure that the background is blue when there is no text and why when there is texte
To do so, we will go back to our hml code and we will add a tag div
The function of div is to create block of contents
We can open a tag <div> just after the body tag
We are going to name our tag div. To do so
In html :
<body>
<div id =“card”>
In css we should have that :

We called it card because we want this to look like a white card under the black text
Now i ma going back to my css and i use the tag “div” to modify everything in it
To do so, we are going to add this code to the CSS:
{
Width: 800px;
Margin:0 auto
Background-color: white
Text-align: center;
Align-content: center;
}
The first line says that the width of the block is 800 pix
The second line will tell us that the card, the white zone should be in the middle of the page
The last lines are here to make sure that the text and content are aligned 🙂
Step 5
We don’t really like the bullet point
We will add in CSS
Ul li
{
List-style-type: none;
}
Then save
We are now going to create links
Create a 3rd page : Tuto2.html
Then we are going back to our tuto1 and we are copy pasting all the tag head
<!DOCTYPE html>
<html>
<head>
<meta charset = “utf-8” >
</head>
<body>
</body>
</html>
The second line will give a title to our html page
<!DOCTYPE html>
<html>
<head>
<title>Happy</title>
<link rel=”stylesheet” href=”style.css” />
</head>
<body>
<div class=”card”>
<h1> happy passover my friends </h1>
<p>Wishing you joy and many blessings at Passover and throughout the year! May God bless you this Passover season <br>
and all through the year…”<br>
“May your Pesach overflow with happiness… <br>
<img src=”https://media.giphy.com/media/11sBLVxNs7v6WA/giphy.gif”/><br>
May you always be blessed with peace,
prosperity and togetherness!
Wishing you a Happy Passover!”
</p>
<h2> not to forget when we do a seder </h2>
<ul> Fundamental to the Seder table is the Seder plate, which has on it the following items:
<li> Zeroah, a lamb’s shankbone symbolizing the ancient Passover sacrifice</li>
<li> Beitzah, a roasted egg symbolizing the temple sacrifice and the continuing cycle of life</li>
<li> Haroset, a paste of fruit and nuts symbolizing the mortar used to build the pyramid of the pharaohs</li>
<li> Mar’or, a bitter herb (like horseradish) to represent the bitterness of slavery</li>
<li> Karpas, a green vegetable (usually parsley) representing spring</li>
<li> A bowl of salt water to dip the karpas symbolizing the slaves’ tears</li>
</ul>
<img src=”https://media.giphy.com/media/xUPGclOqFtujBLIjkI/giphy.gif“>
<p>
I created this webpage thanks to <a href=”https://developers.institute”>Developers.Institute</a>
</p>
</div>
</body>
</html>
CSS
h1
{
Color:red;
}
Body{
Background-color :grey;
}
.card {
Width: 800px;
Margin:auto;
Background-color: white;
Text-align: center;
Align-content: center;
}
ul li {
List-style-type: none;
}
LET’S SAVE our CARD
step 1
go to the website http://upload.developers.institute
step 2
Write your last name followed by the first letter of your first name (all in lowercase and without space)
For me, it will be dreyfussm
step 3
Import the folder you have created
step 4
choose your index.html file
step 5
click on “Send”
step 6
choose your style.css file
step 7
click on “Send”
step 8
go to the link card.developers.institute/dreyfussm
NOW IT IS READY TO BE SHARED
YOU WANT TO CHECK YOUR BEAUTIFUL CREATION
Go on this : http://card.developers.institute/
Conclusion
By assembling JavaScript instructions, we can make a Website behave like a program: it will run our instructions and, as a developer, we know in advance the exact outcome of the program… (unless there are bugs! But that’s another story…)


